A little known fact about me… I’m in love with Crafting!
I follow tons of crafting blogs (I am momma hear me roar, Martha Stewart Etc.) I get tons of ideas from Pinterest.com… and one in particular was this, Moss Covered Letters.
Not only was I proud to photograph my cousin’s wedding, March 31st, but my sister and I offered to make her some Moss Covered letters. It was just something, we thought, she HAD TO HAVE to complete her wedding!
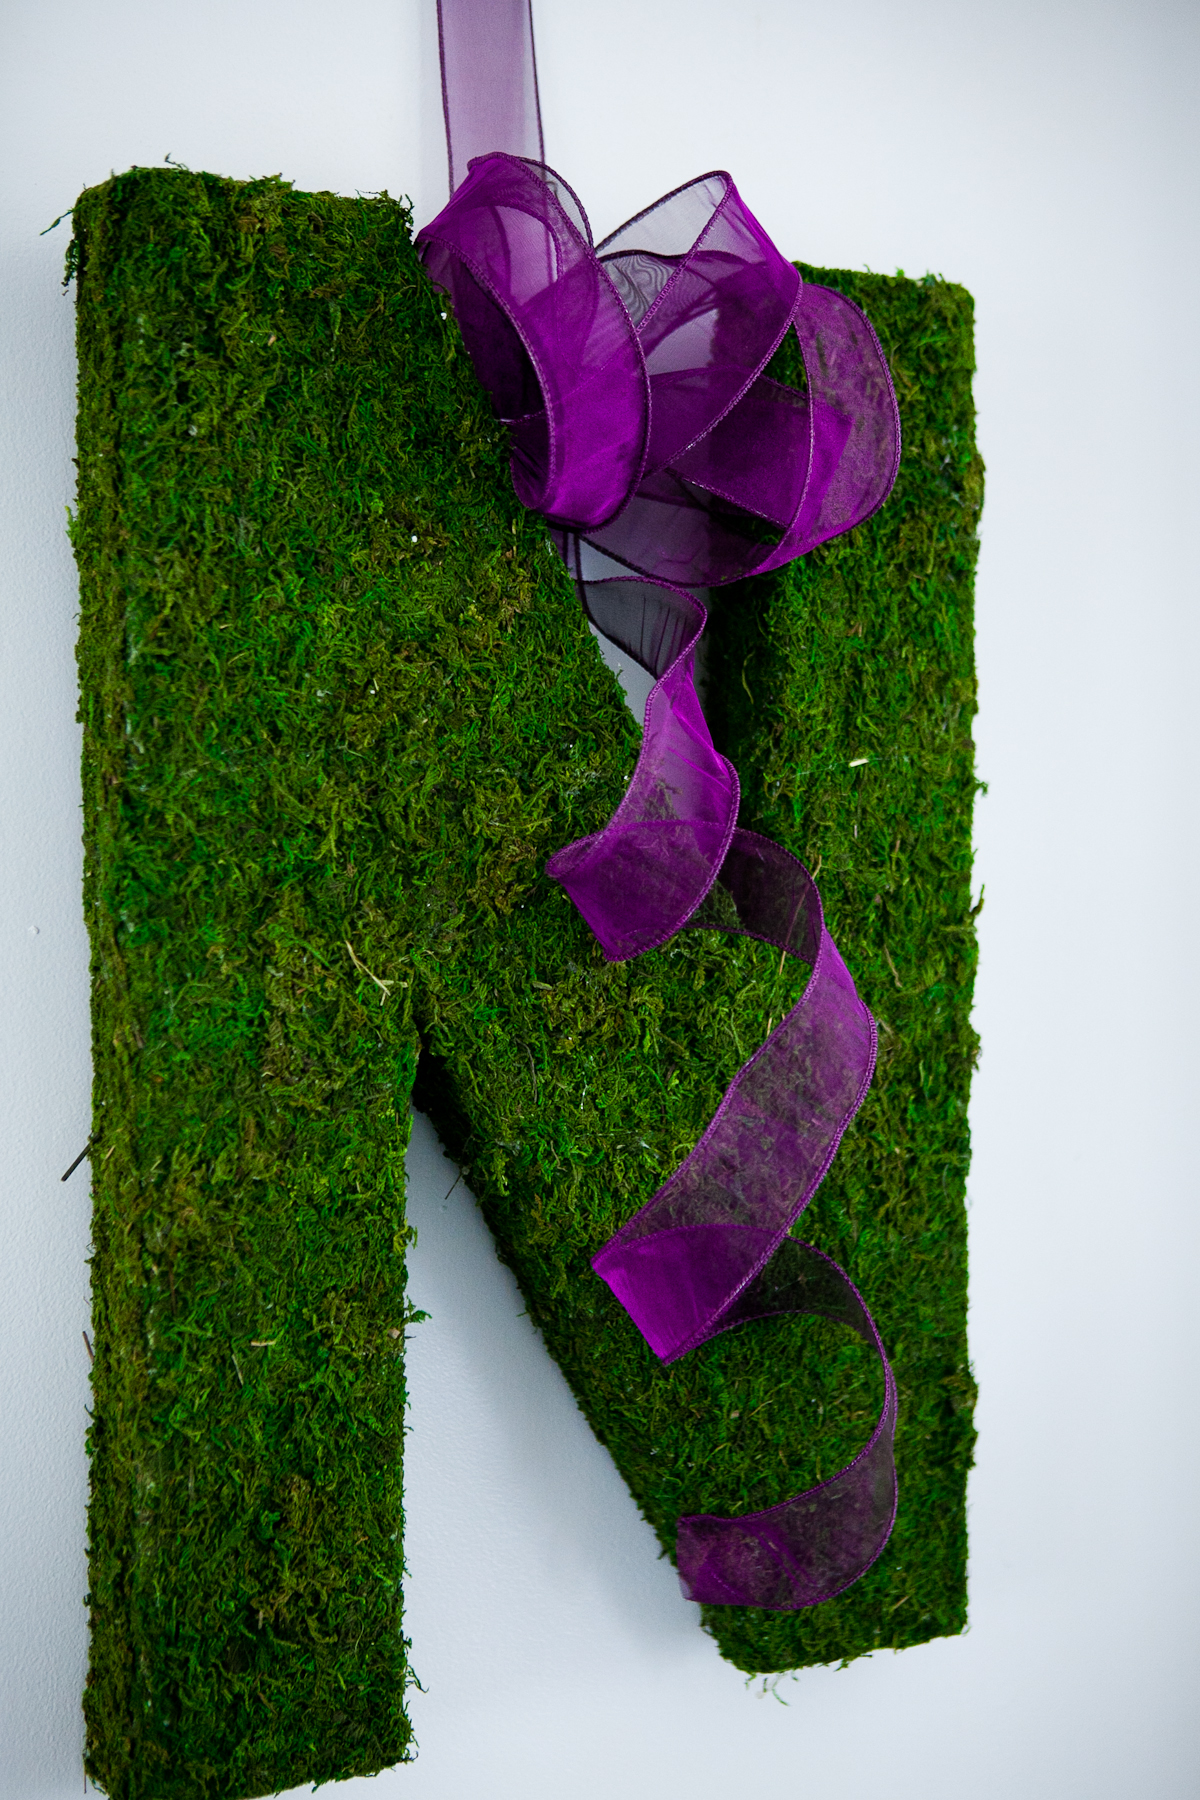
We used instructions from Pinterest but soon learned we’d have to just do it our own way. It’s nice to look at other people’s results but it’s not always easy to get what they get for materials nor is it always easy to do it the way they do it. So if you’ll let me, here are pictures from our Moss Covered Letters.
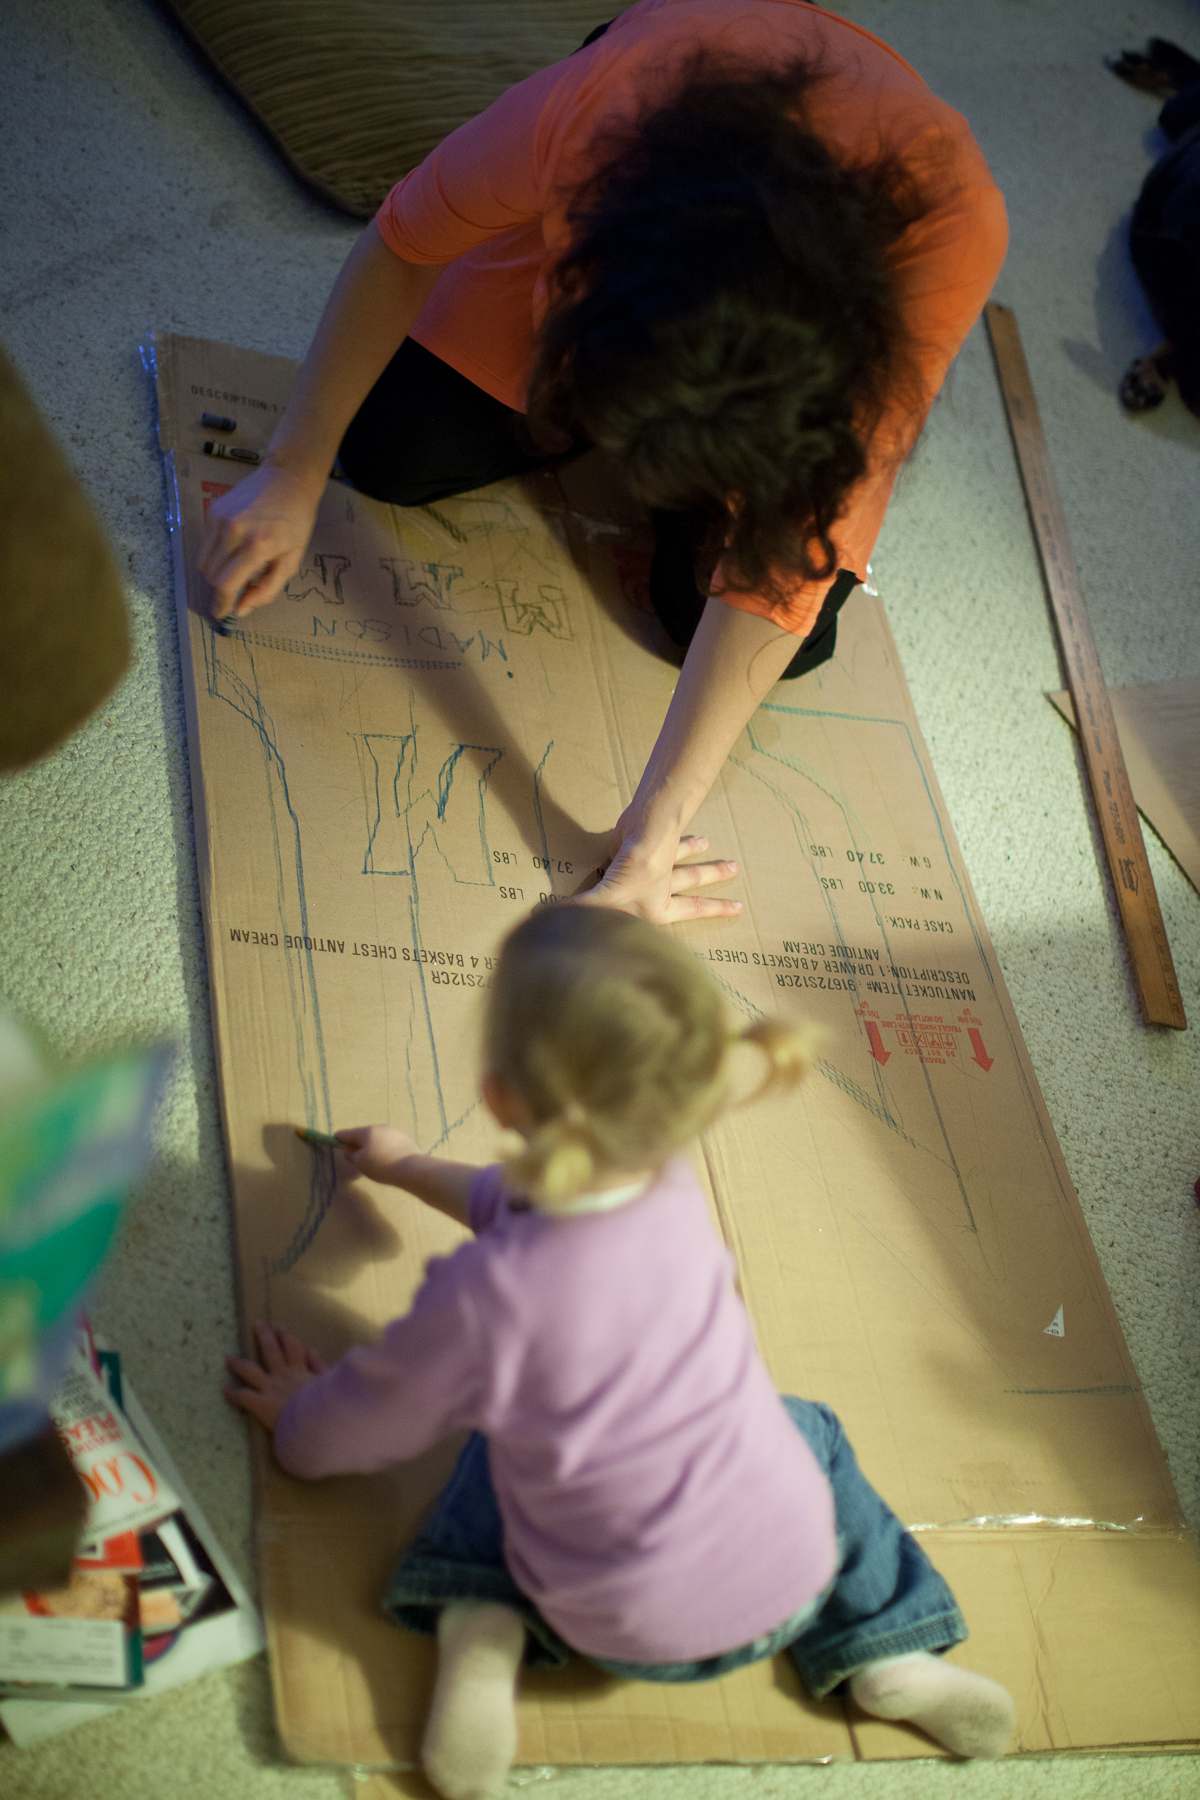
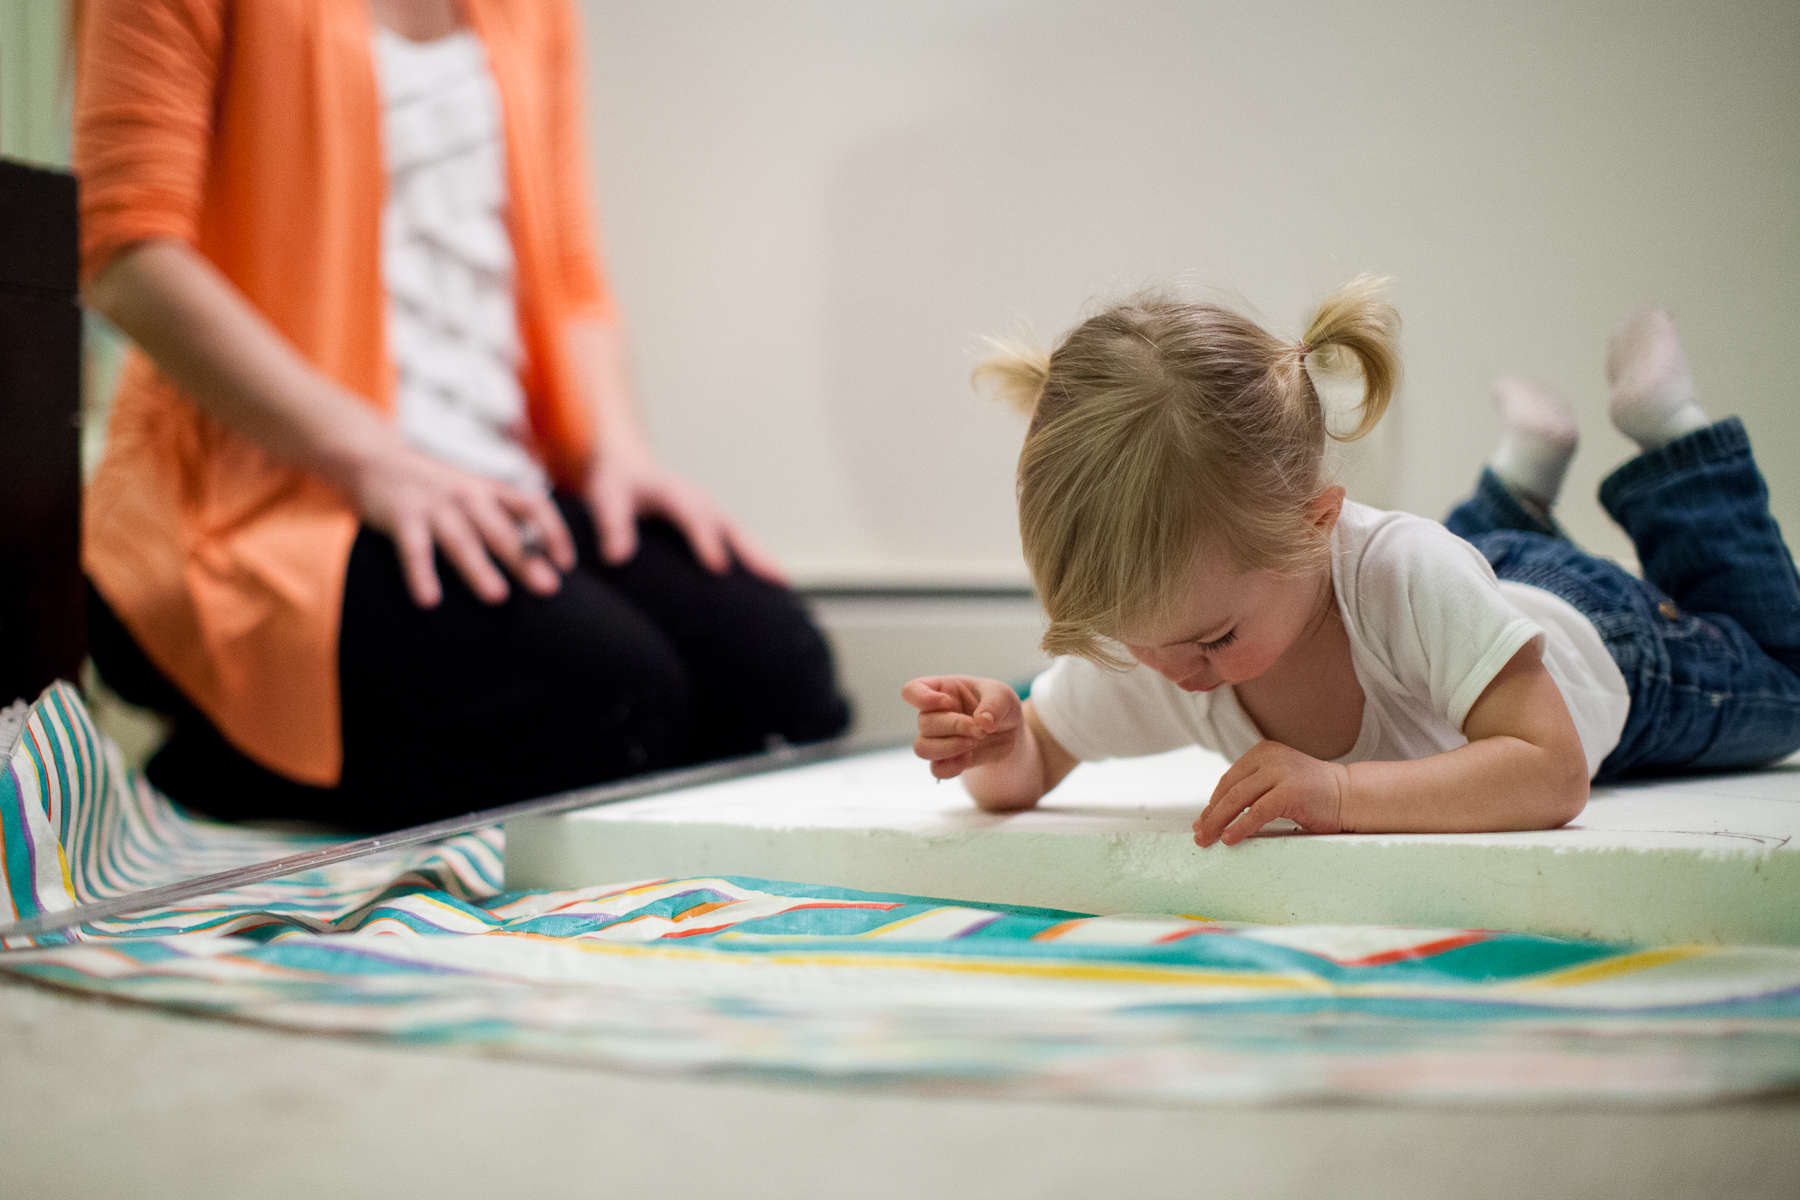
First let me say that it was easy except my almost two year old crawling ALL over our project. Hahahaha She is priceless, and my pride & joy. 🙂
*To the Bride and Groom: I thought you might get a kick out of seeing the process that went into making you the moss letters. Really fun for us and I hope, funny for everyone!
Materials:
Cardboard or Foam
Scissors (We also used a Rotary blade to cut the moss)
Glue Guns with TONS of Glue Sticks
Fork (Yup, it helped with patching bare spots)
Rubber Pot Holder (I know! Strange, but it’s called HOT Glue for a reason!)
Rolls of MOSS (there are two kinds, get the “Super Moss, Instant Green” Comes in a blue bag. It’s made better, and has no Plastic smell to it)
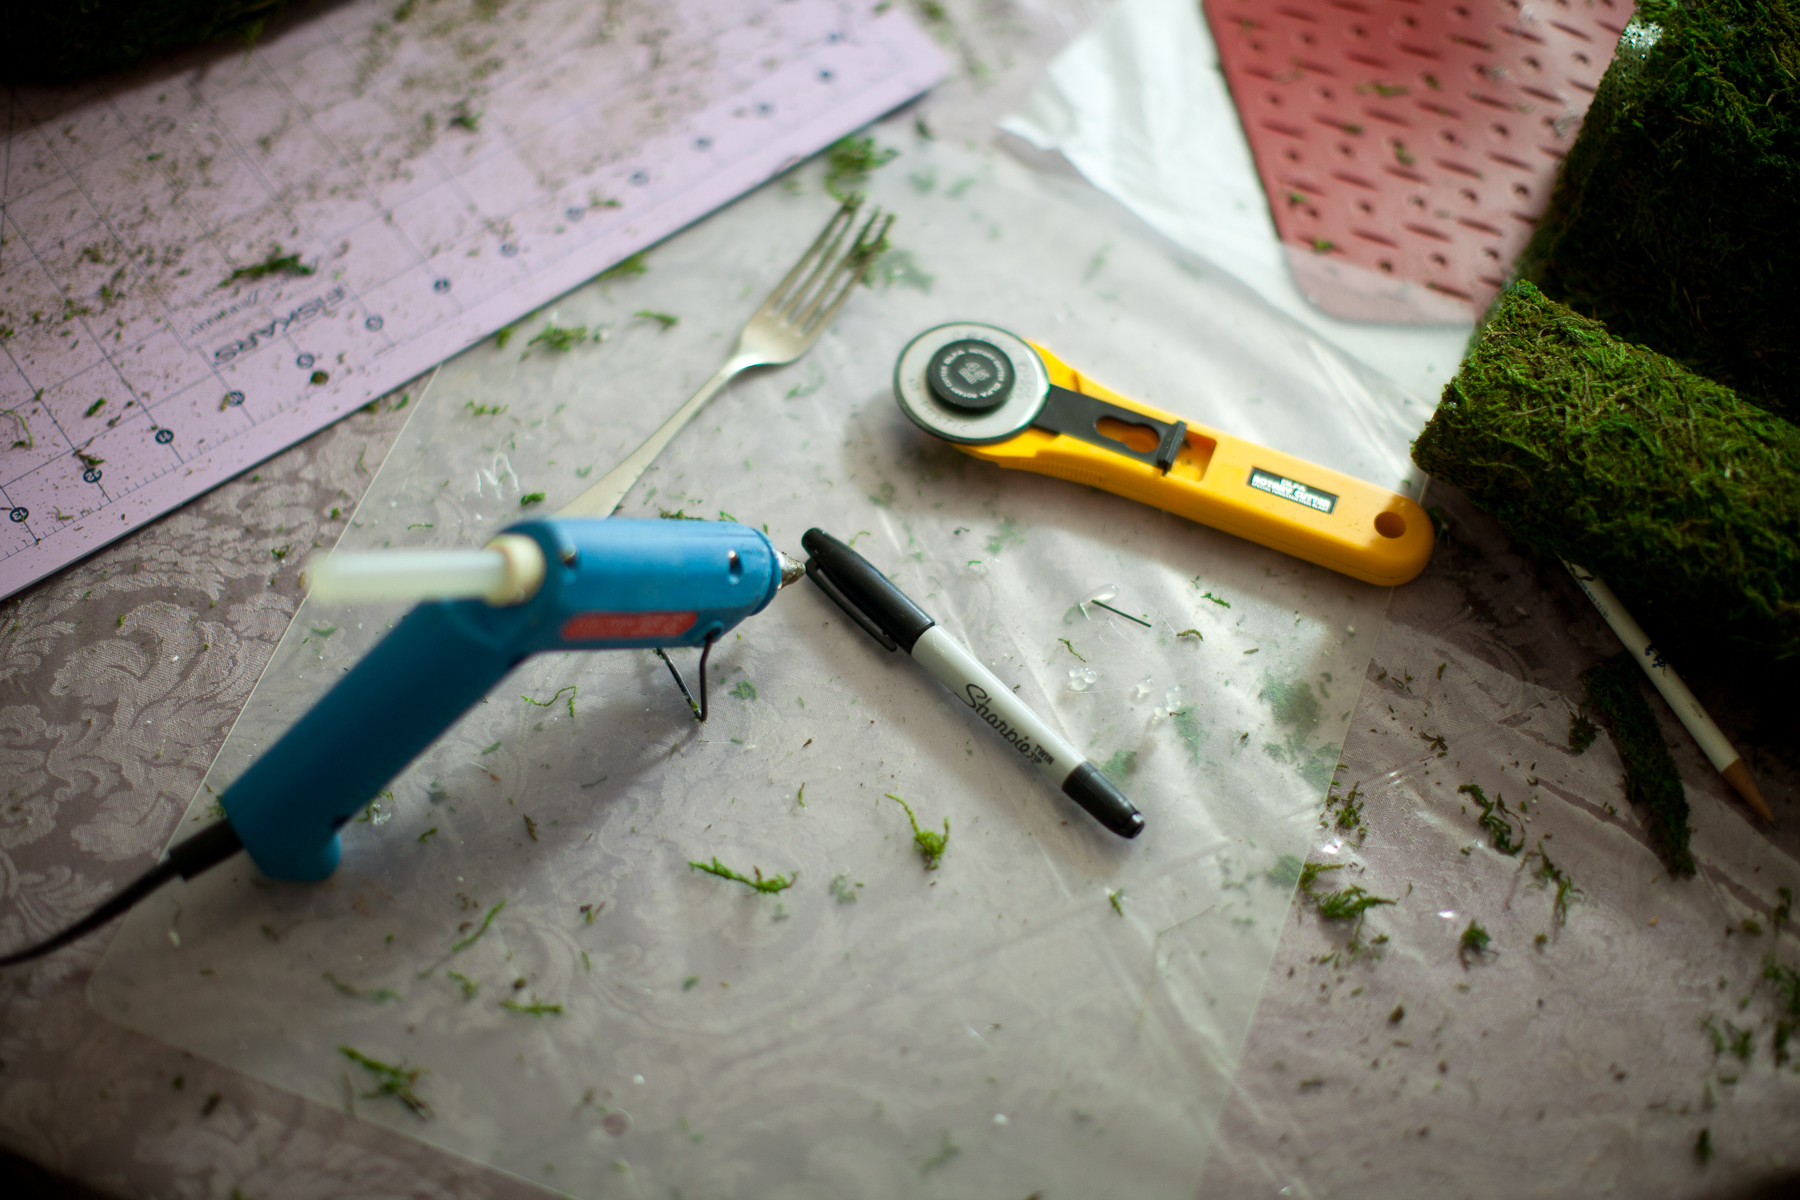
The creator of the directions for Moss letters that we found, had stacked cardboard together to make the inside of the letters. We also saw that you can buy Cardboard letters on Etsy etc. But We had some HUGE foam lying around and it actually seemed better for us and cheap, because we had it at home already.
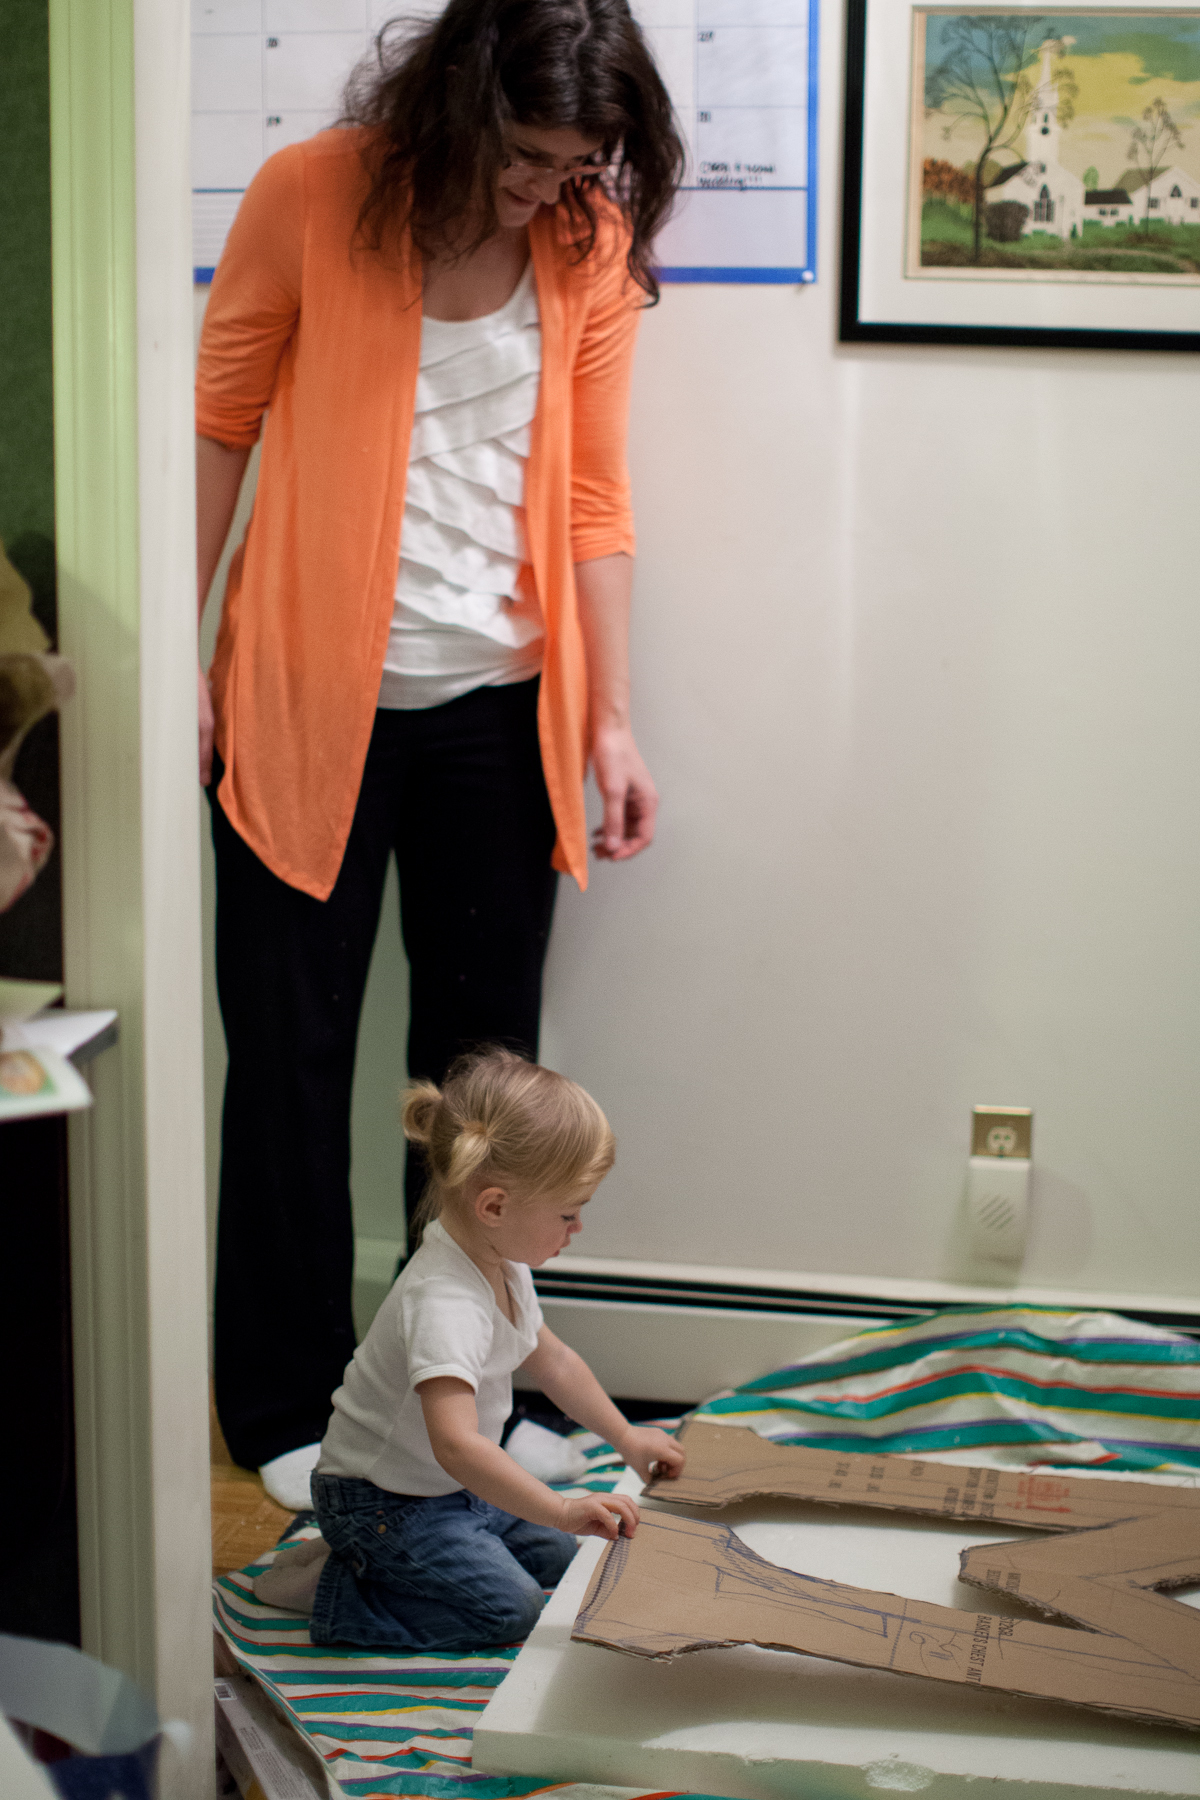
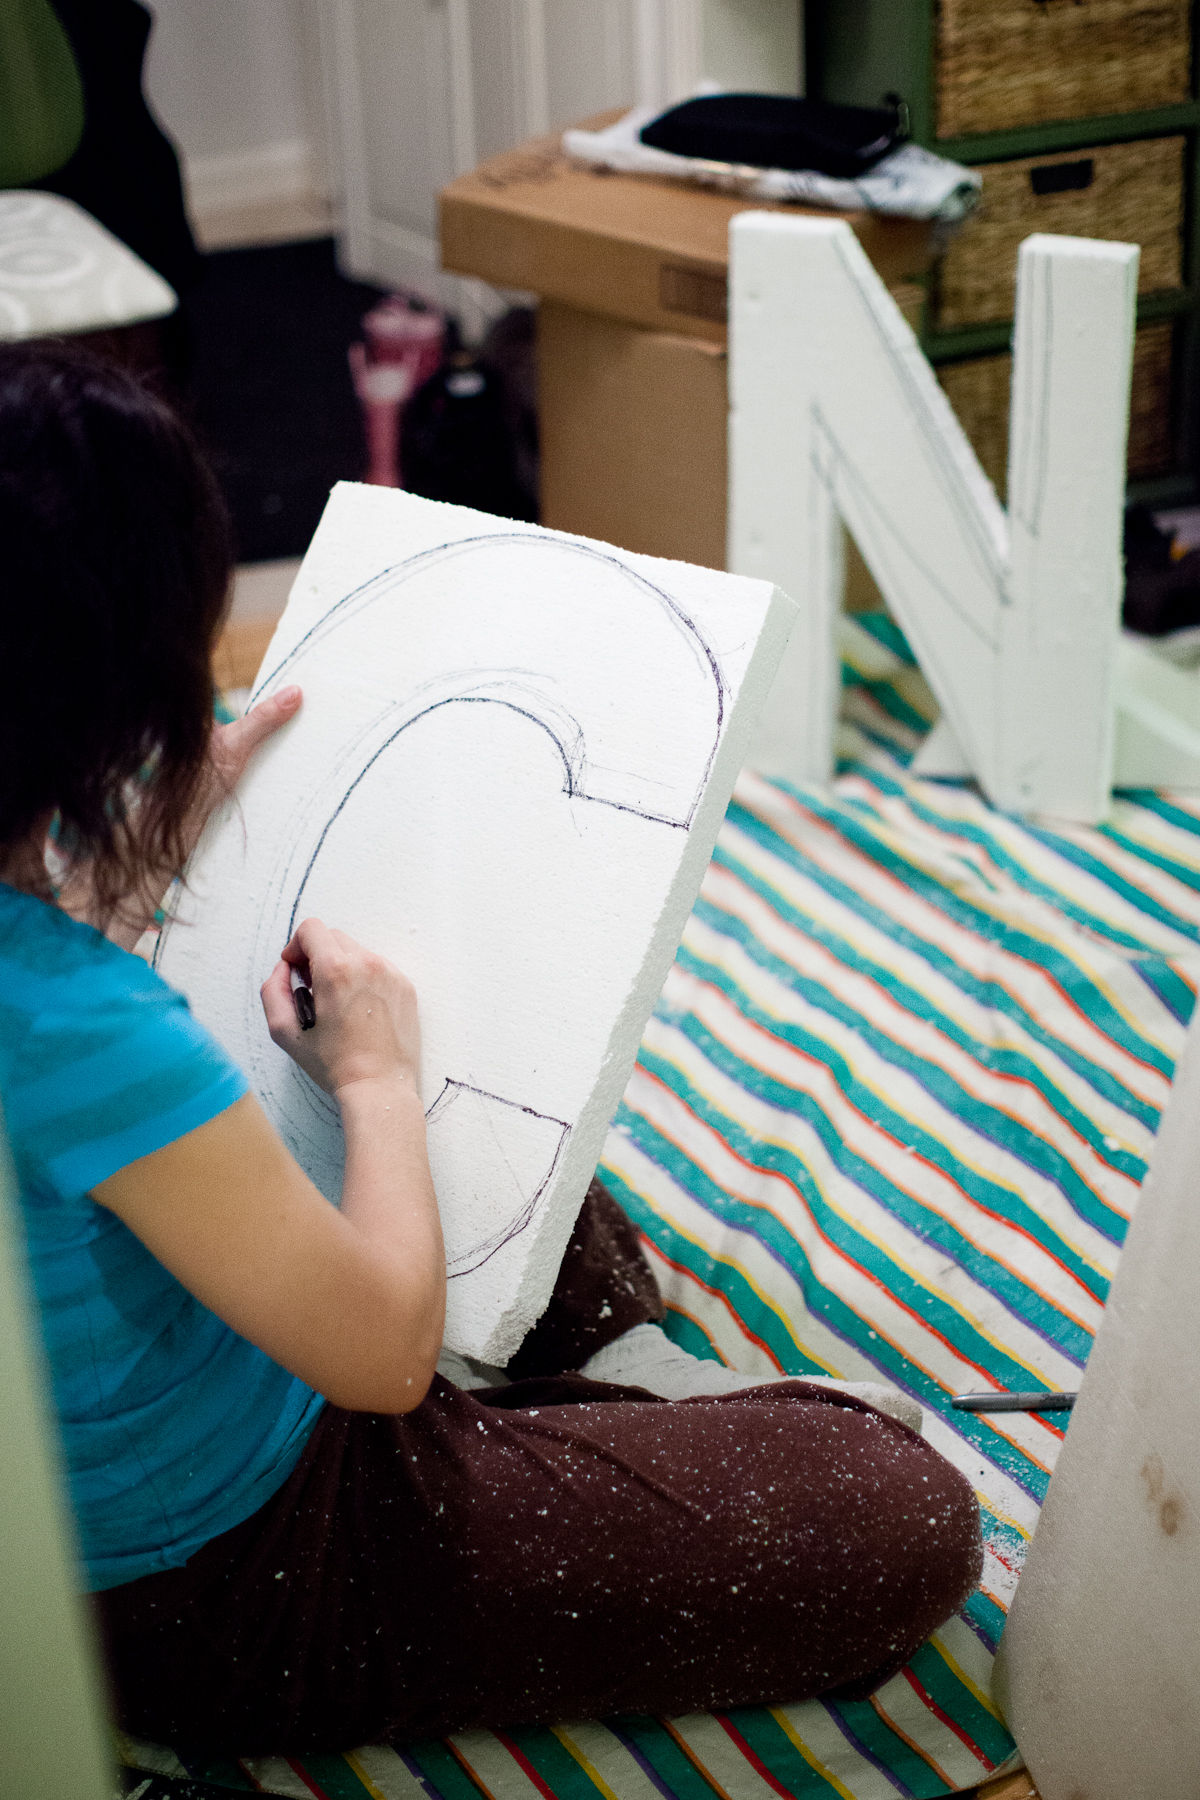
First we used large cardboard to make a template. We thought we might actually glue it to the foam for stability when shipping (yes we mailed it from MA to VA). Actually we just used it as a template. It really helped. It gave us something for scale. We used it to trace onto the Foam so we had less work at that step.
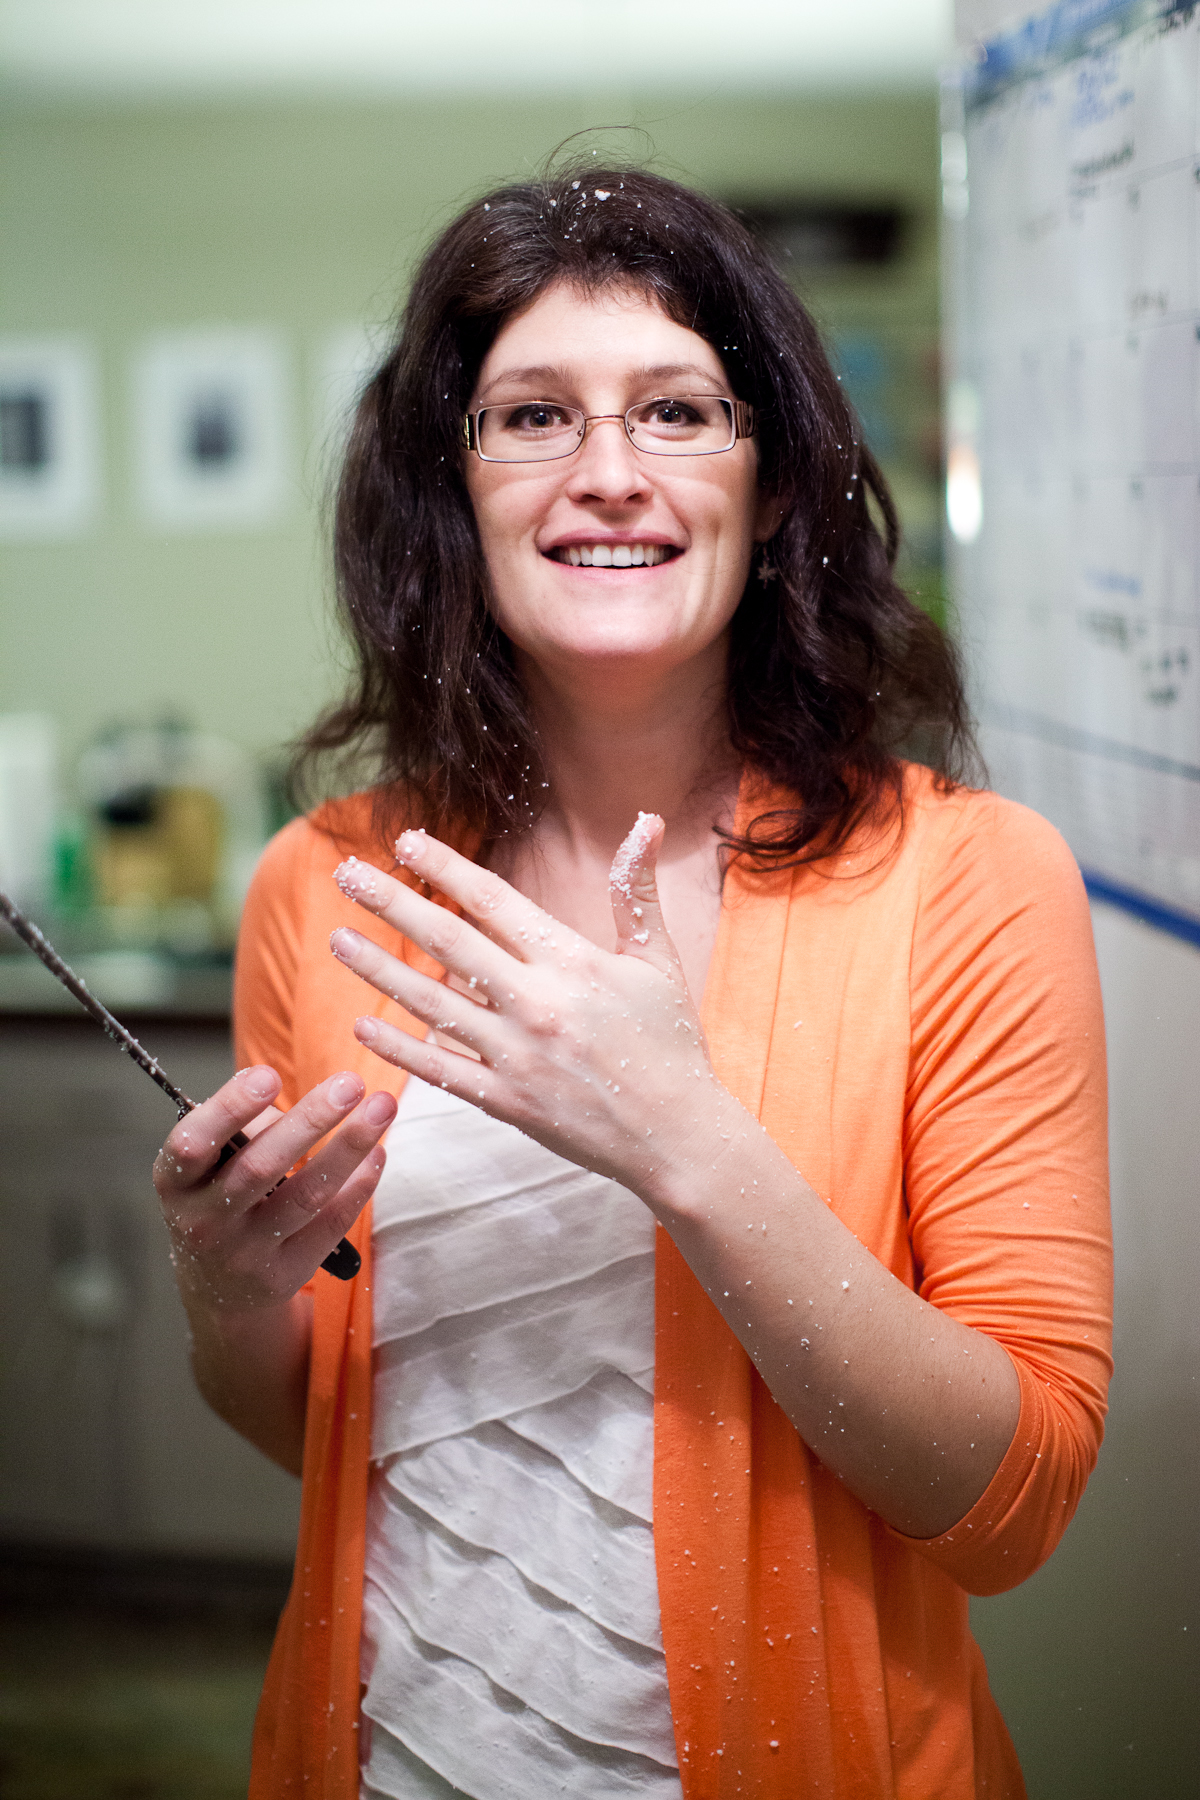
After we traced the new “M” onto the cardboard we attempted to cut it out but had trouble with an exacto knife, so we ended up using a bread knife! Aweful sound, lots of foam, but really funny photos!
Next we just drew on the smaller foam pieces for the “C” & “N”. Much easier to do since they were much smaller. *can’t tell you how perfect my sister’s estimations were for the size of the letters for the space of the room! They were spot on!
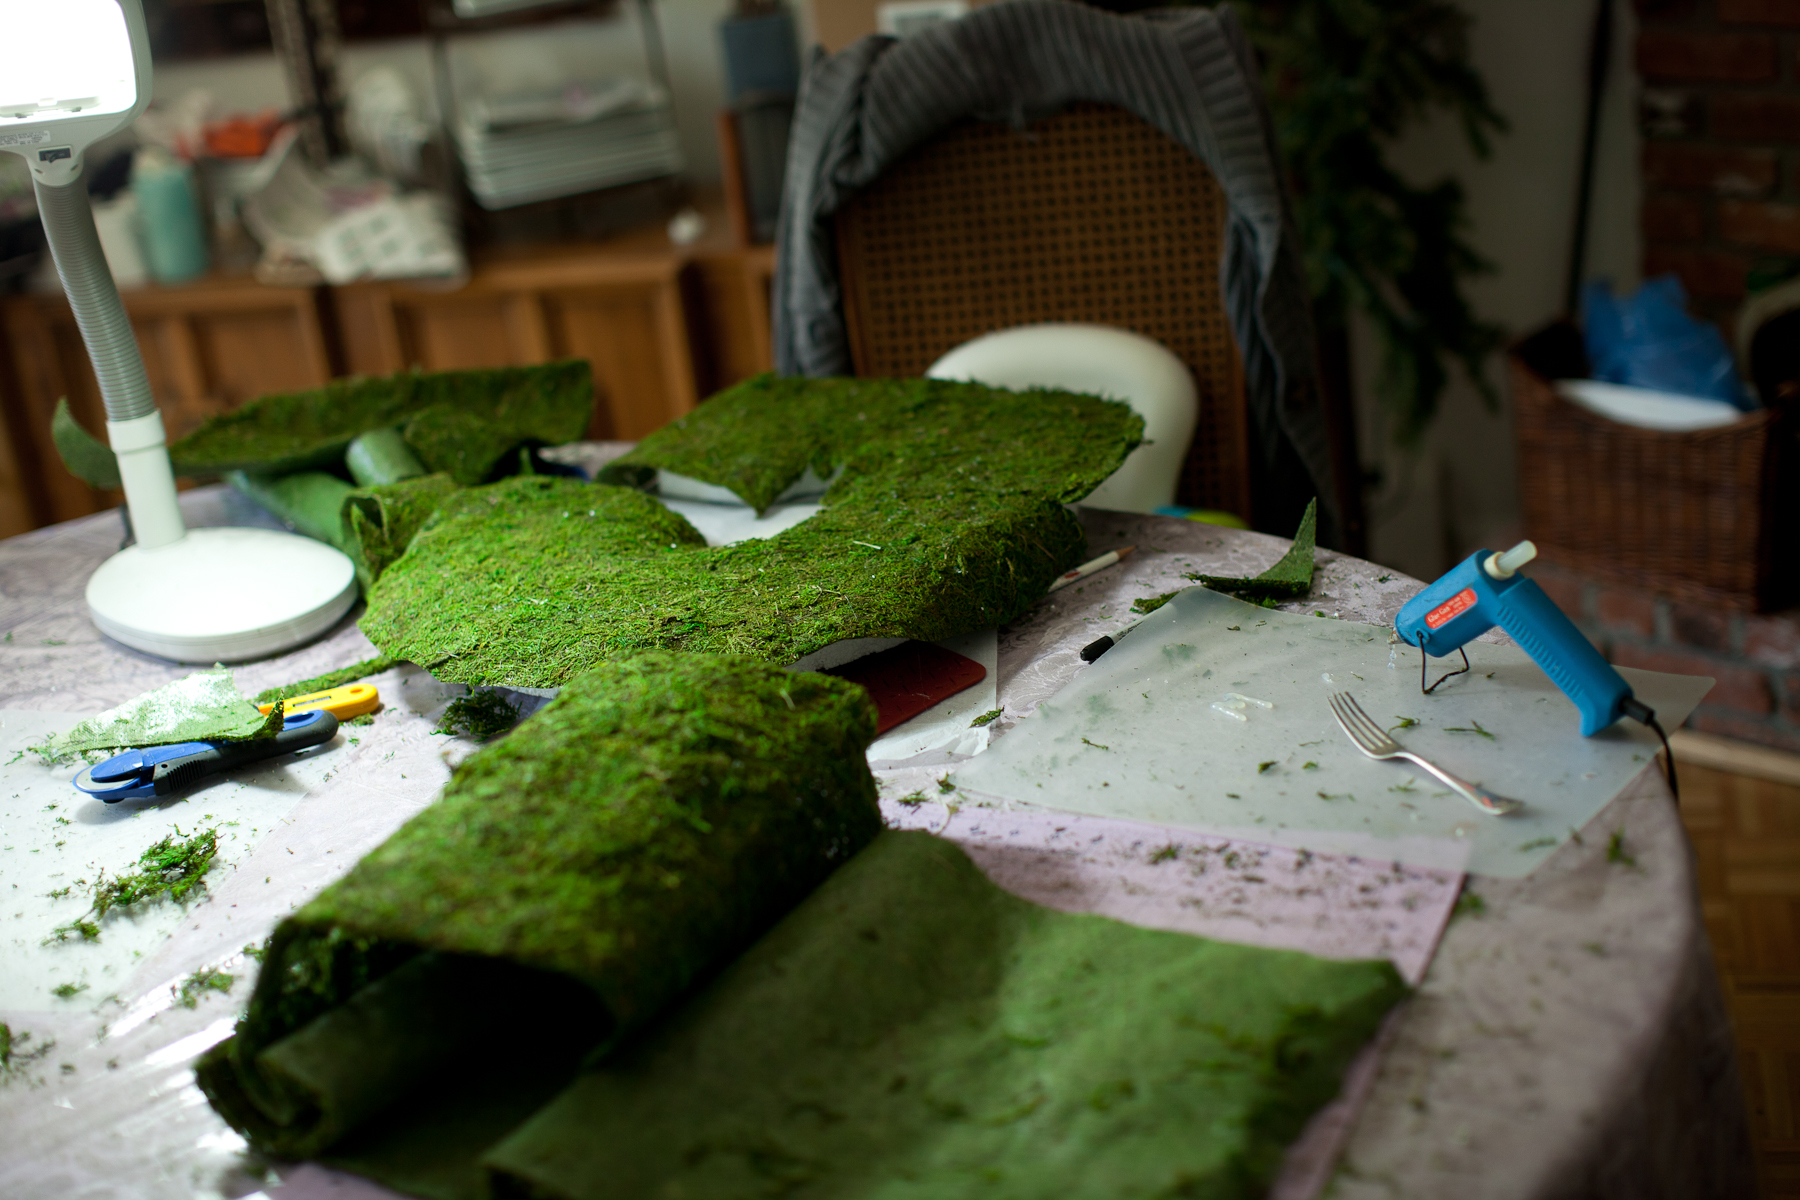
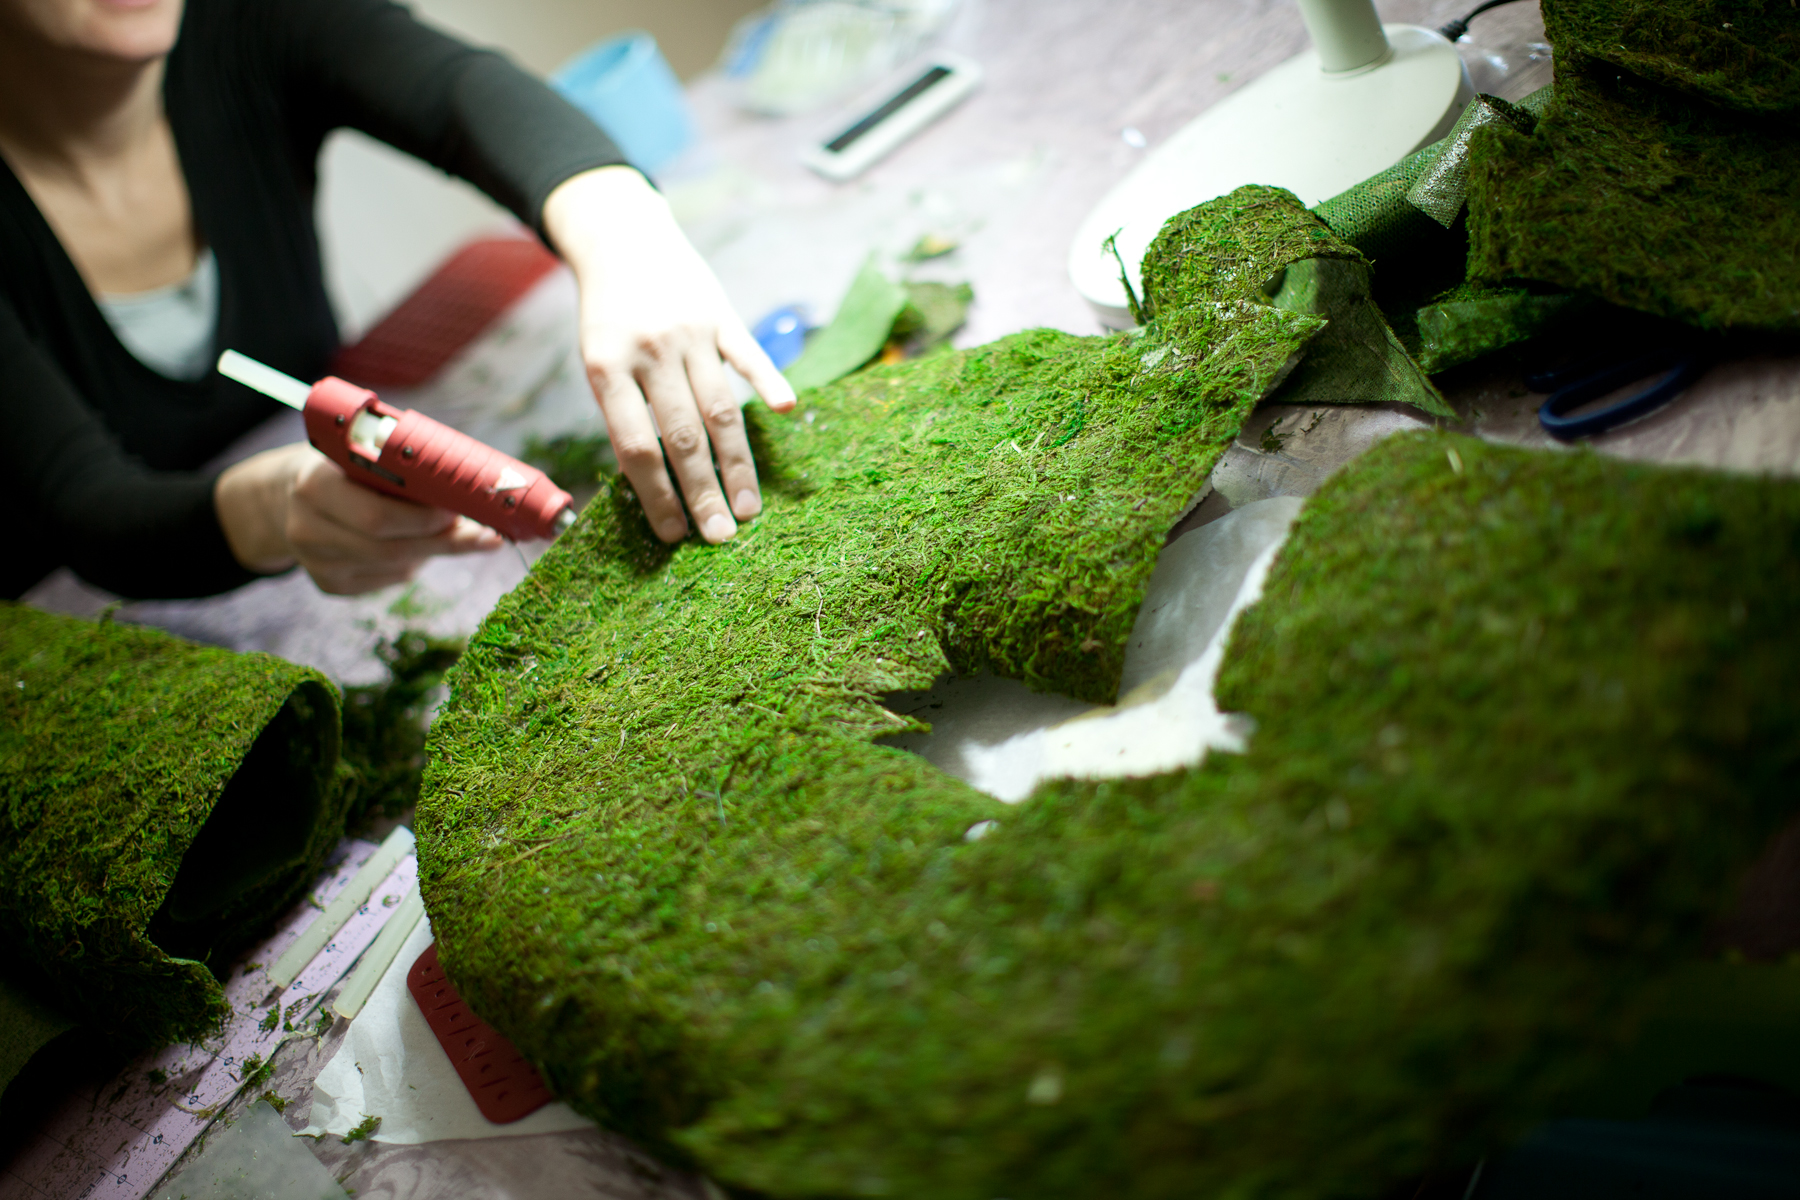
After we had the letters, we started to plan our attack of the Moss. We only had one roll of the “good stuff” (Super Moss Instant Green). Our Process was to lay out the roll of moss, lay the letter on top, make an outline on the “back” of the moss and cut with a rotary blade. Make sure to leave at least an inch extra from the edge to overlap on the edges. We used the scissors to cut slits into the edges where they needed to overlap on the edges.
We were unsure how much moss rolls we would need so we bought One roll with the thought we’d just get more when we knew how much we needed. Bad Idea. We covered one side of the “N” and then ran out. So we planned on going back to Joanne’s to get more, however we had a small hiccup. Joanne’s had a big fire the night before we were trying to glue moss! Can you believe it??? What are the odds? Michael’s and All other craft stores on Cape Cod did not carry the Super Moss Instant Green. Without any other options we went for the “other” stuff. There’s no comparison. The “other” stuff falls off the roll (plastic backing) and makes it ten times harder to get a good layer. You end up getting holes where the white foam shows through. (I guess that’s where the cardboard would have helped). We ended up having to go back and fill in spots with the moss that had fallen off. It made for a much longer process. *LESSON: Buy More than you need at once, so that you have the same kind of GOOD moss!
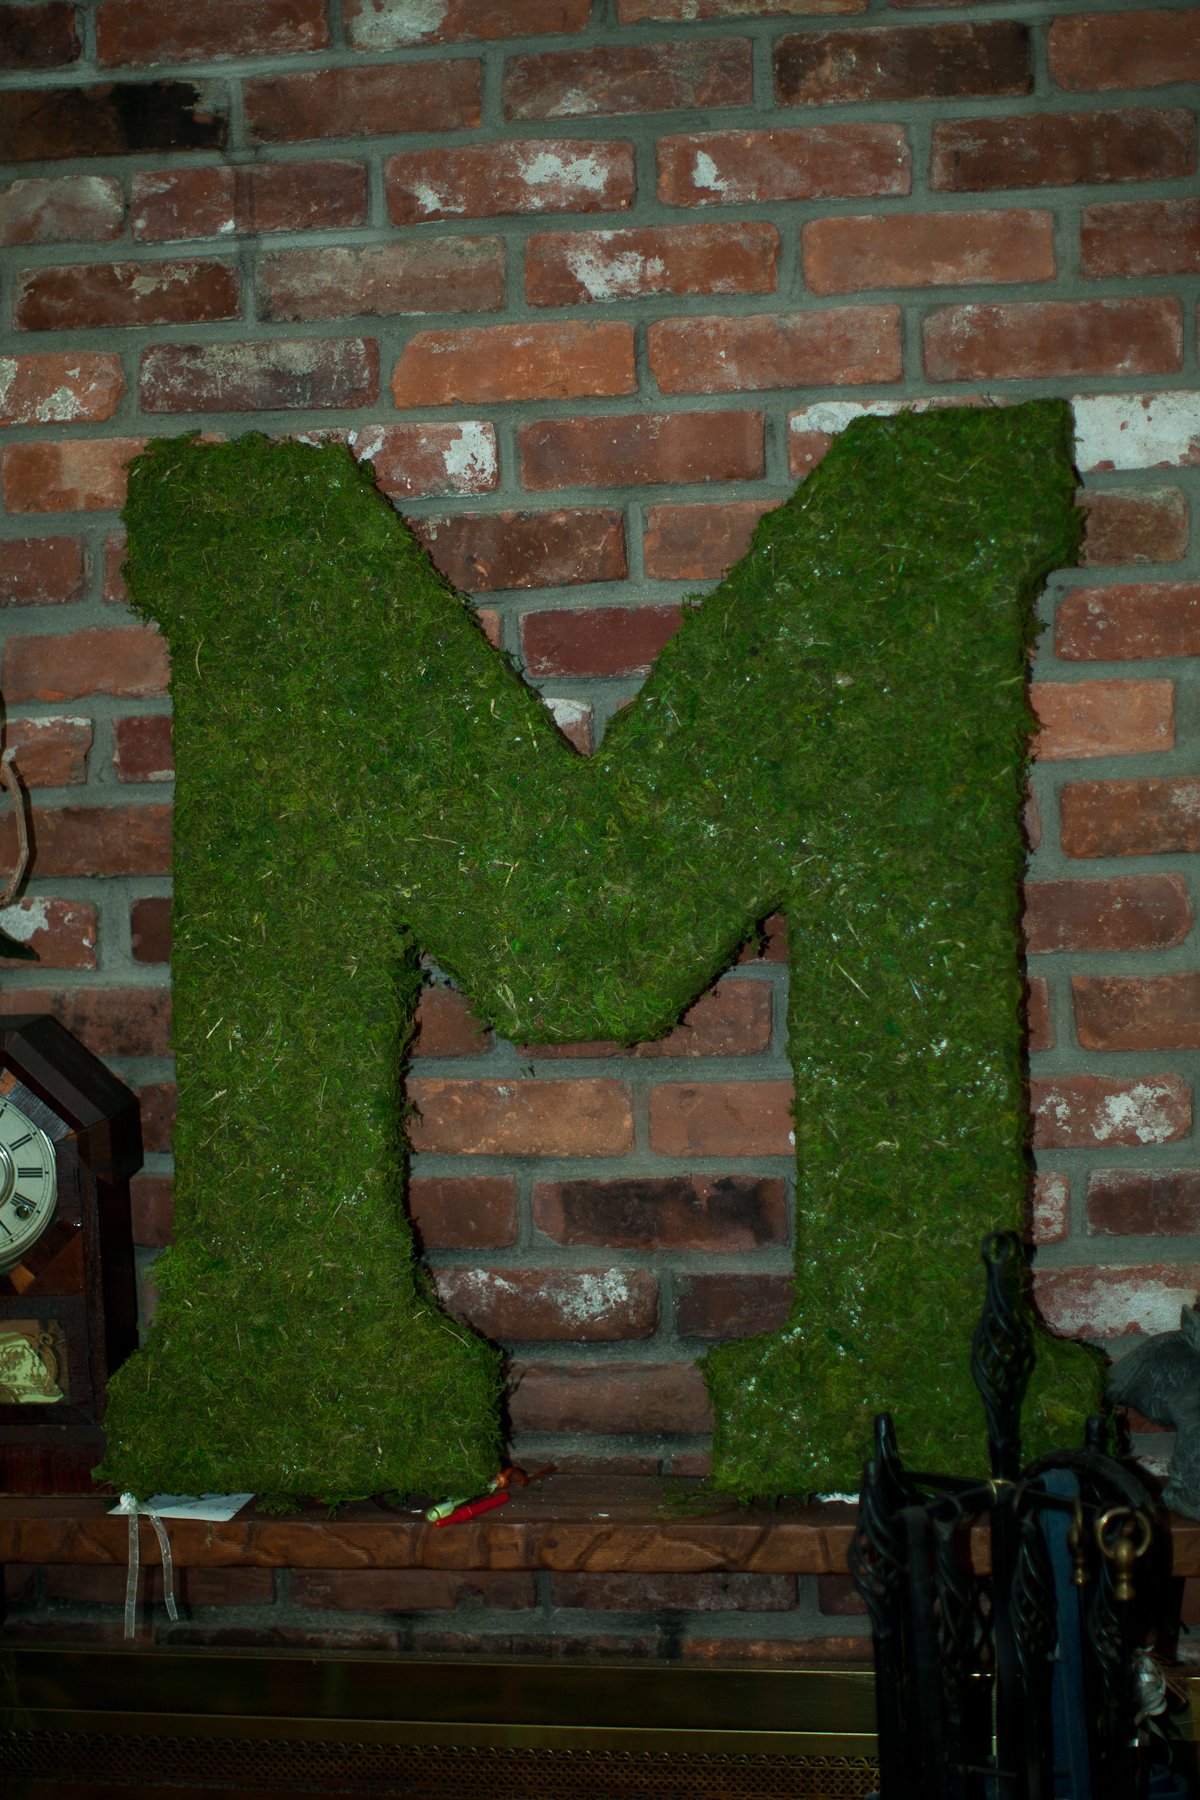
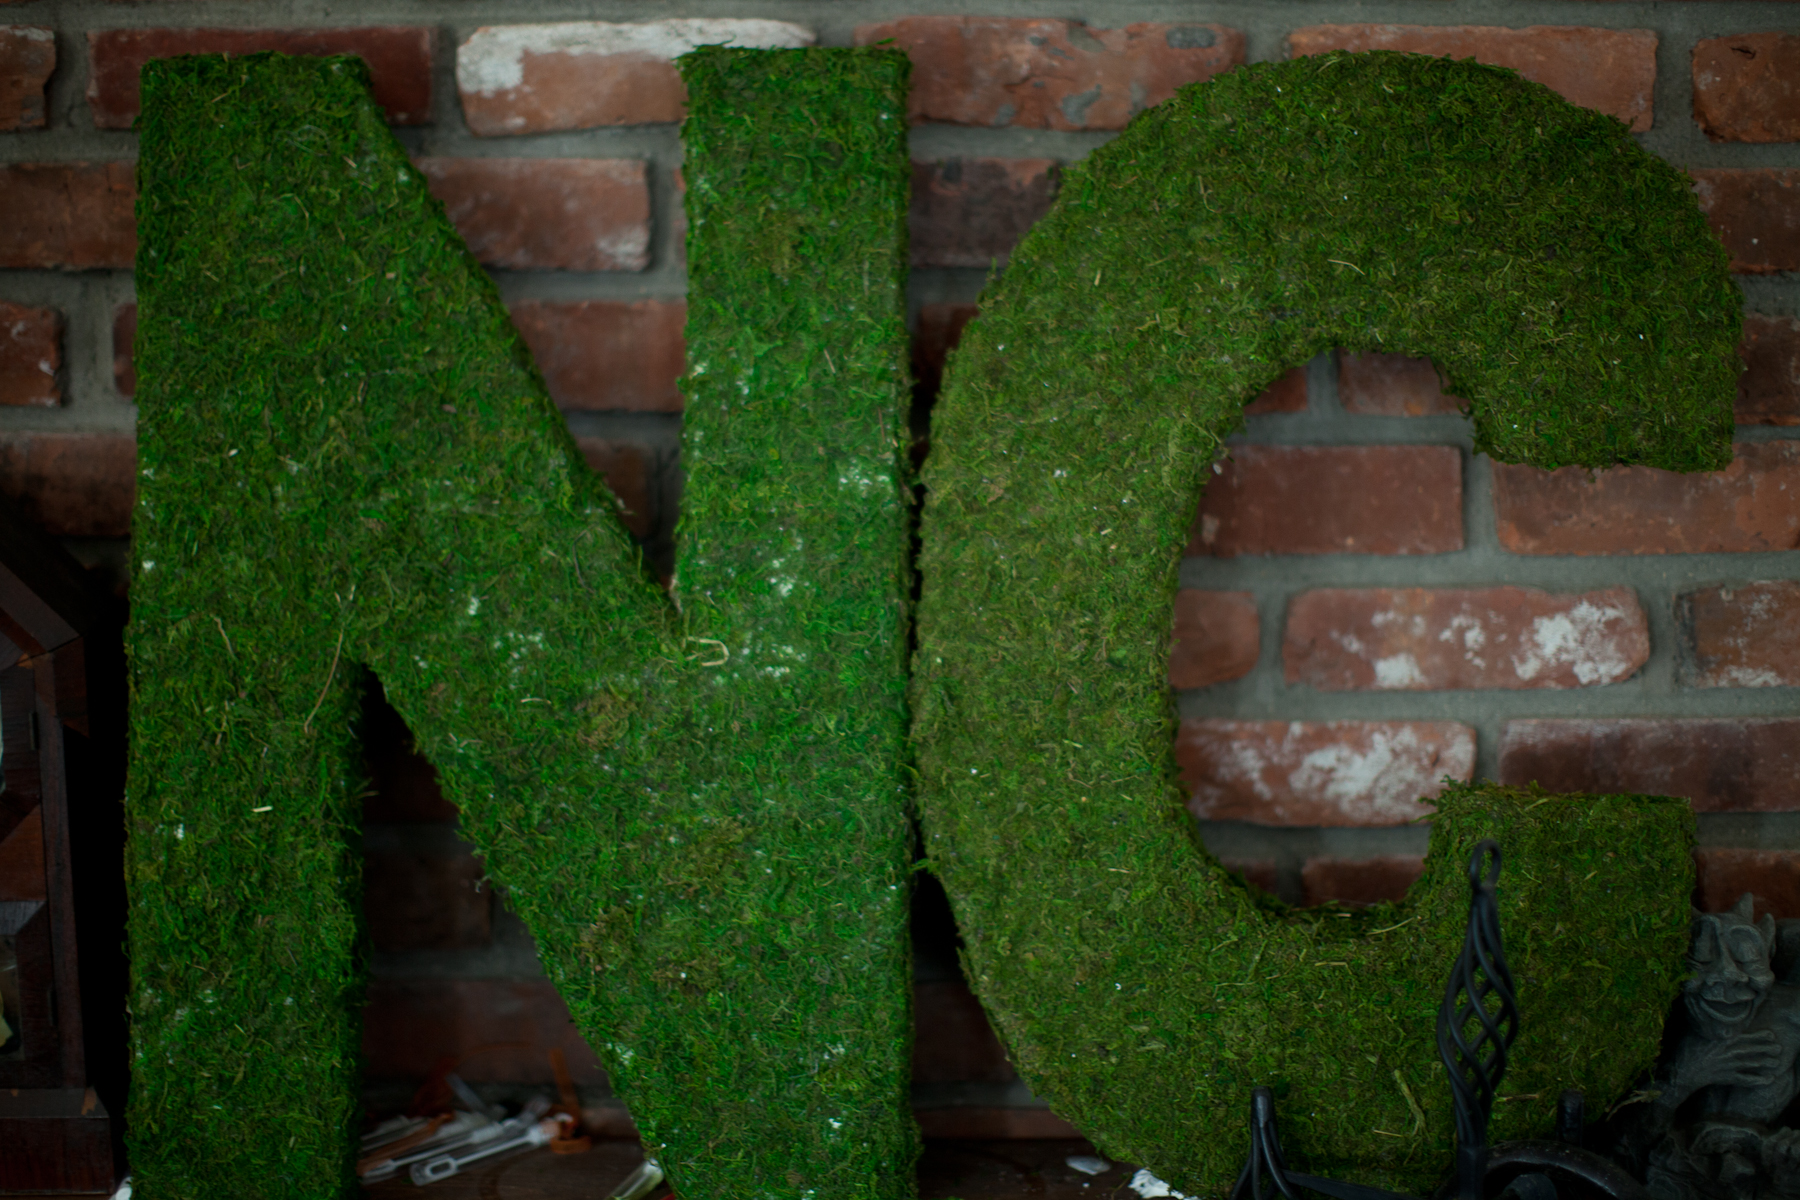
Once we were all covered though, they looked pretty great! We also purchased paper flowers and flower pins with the pearl heads to add to the Large M. We wanted it to have a splash of color since the theme/color of the wedding was wild flowers. We decided to bring those with us and do it there.
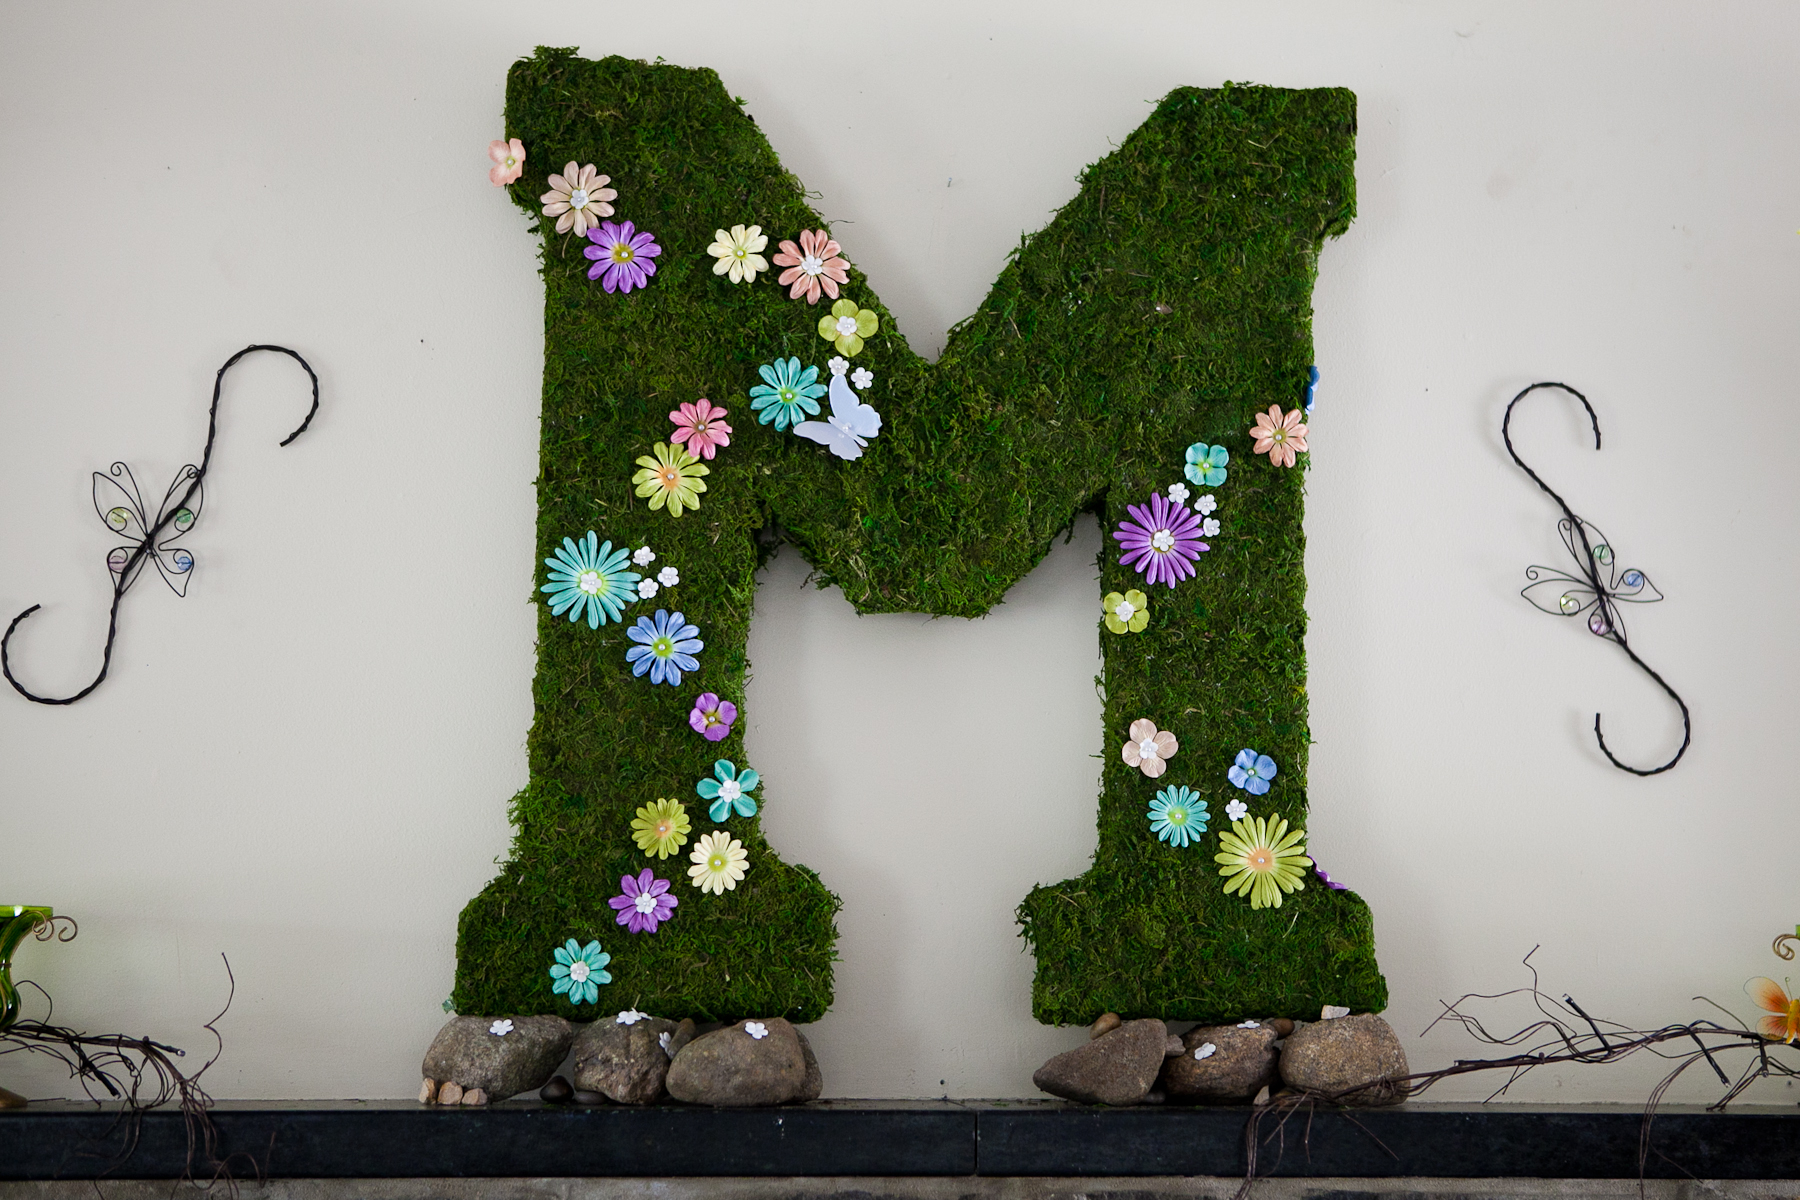
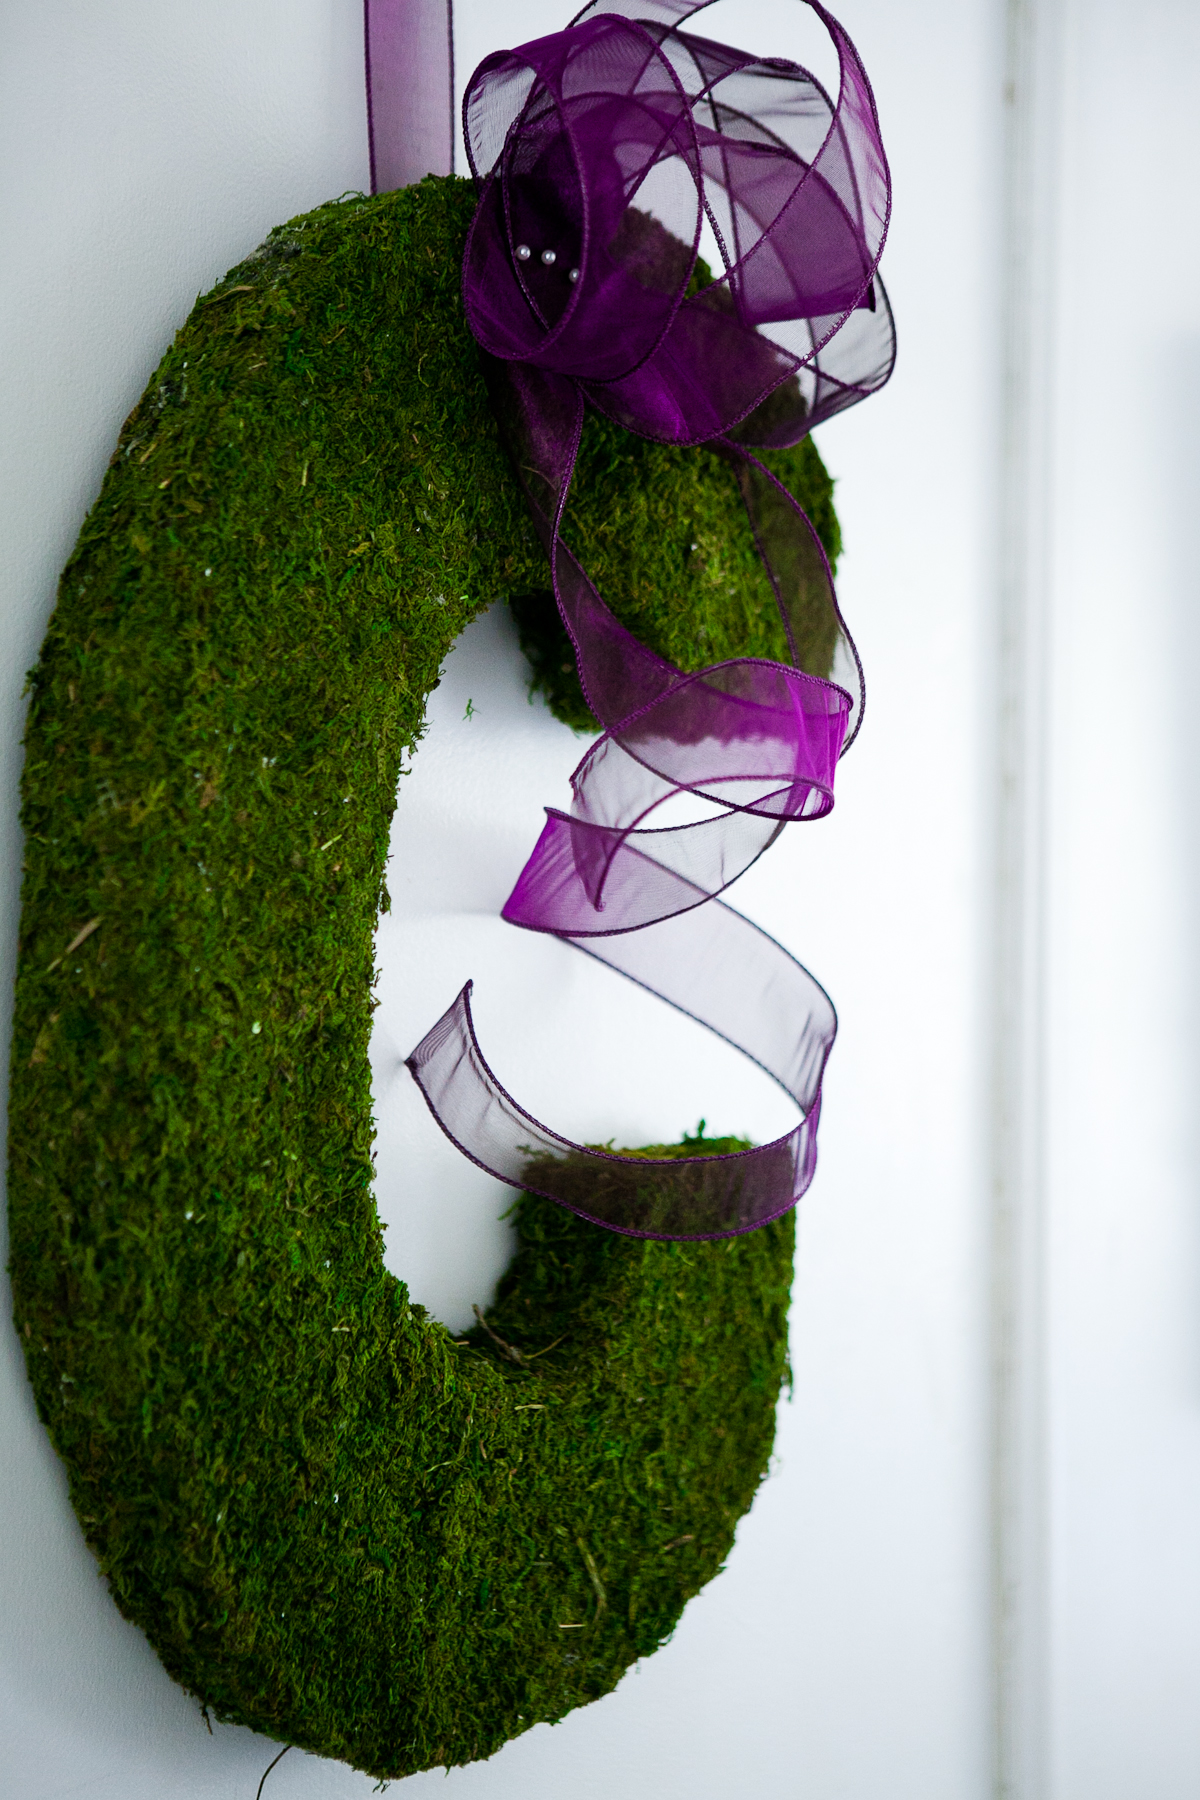

So that was our process, I hope others might find it useful or just funny. We had a great time making it and learned a lot about the process we took. Good Luck to you
and again, Congratulations Mr. & Mrs. Metcalf!
Share the love: